Step-by-Step Guide: Terminating CAT6 Ethernet Cable with Cat 6 Plug
September 20, 2023
In this step-by-step guide, we will walk through the process of terminating a CAT6 Ethernet cable with a Cat 6 plug. This is an essential skill for network enthusiasts and IT professionals, allowing you to create custom length cables, troubleshoot network issues, or understand the intricate workings of your home or business network. Whether you’re a seasoned professional or a beginner, this guide will provide you with a detailed, easy-to-understand approach to successfully terminating a CAT6 Ethernet cable.
Before we begin with the process, it is necessary to gather all the required tools. Here’s a list of what you will need:
Crimper: This is a special tool used to connect the RJ-45 connector to the end of the cable.
Stripper: This tool is used to strip off the outer insulation of the ethernet cable, allowing you to access the twisted pairs of wires inside.
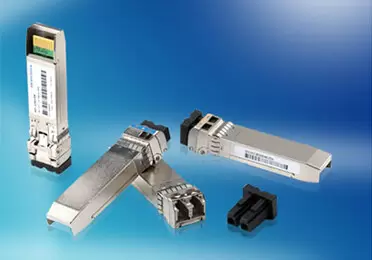
Termination Plug (Cat 6 Plug): This is the actual plug that you will attach to the end of your CAT6 cable. It’s also known as an RJ-45 connector.
Ensure you have these tools at your disposal to make the termination process seamless and efficient.
Preparing the Cable
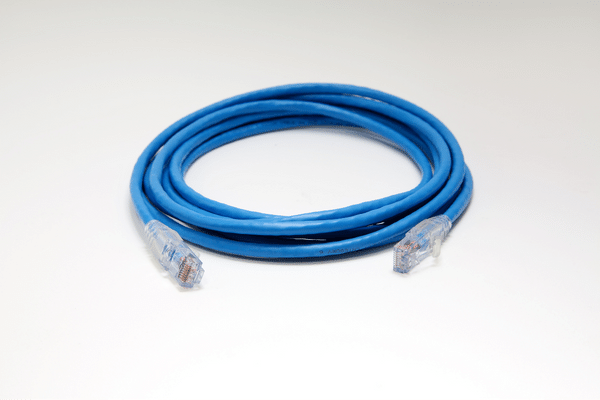
RJ45 Cat.6 Plug Ethernet Cable
Strip the Outer Jacket
The first step in preparing the cable involves stripping the outer jacket. Carefully insert the cable into the stripper’s notch, ensuring you only cut into the outer insulation and not the inner wires. Rotate the stripper around the cable to make a clean cut. Then, pull away the cut portion of the jacket to expose the inner twisted pairs of wires.
Untwist the Pairs
Next, you’ll want to untwist each of the wire pairs. Be gentle during this process to avoid damaging the wires. This step reveals the individual wires that you will later align according to the wiring scheme you’re using.
Trim the Wires
The final preparation step is to trim the wires. Using your crimper’s wire cutting feature (or a separate wire cutter if available), trim the ends of the wires to achieve a uniform length. This makes it easier to insert them into the Cat 6 plug and ensures a strong, secure connection.
Wiring the Plug
Arrange the Wires According to Standard
After preparing the cable, the next step is to arrange the wires according to the wiring standard you’re following. Most commonly used are the T568A and T568B standards. For instance, following the T568B standard, the wire arrangement from left to right (while keeping the wires facing upwards) should be: orange/white, orange, green/white, blue, blue/white, green, brown/white, brown.
Insert the Wires into the Connector
Once the wires are properly arranged, carefully insert them into the Cat 6 plug (RJ-45 connector). Ensure that the wires stay in their correct order as you push them into the connector. The insulation of the wire should enter the connector slightly to reduce the risk of short circuits.
Check for Proper Alignment
Before crimping, check for proper alignment of the wires. Inside the Cat 6 plug, each wire should be seen through its respective channel, maintaining the same order as arranged. The end of the jacket should be within the connector, ensuring a firm grip when crimped. If the alignment is incorrect, remove the wires from the connector and repeat the process.
Crimping the Plug
Place the Plug into the Crimper
With the wires checked and properly aligned inside the Cat 6 plug, it’s now time to move to the next phase – crimping. Take your RJ-45 connector along with the inserted wires and carefully place it into the slot of the crimper that is designed for it. Ensure that the end of the cable is pushed up towards the top of the connector and the crimper’s lever is open.
Crimp the Plug
Once the plug is correctly placed in the crimper, apply firm pressure on the crimper’s handles to crimp the connector. The crimper pushes the connectors’ pins down into the wires, establishing an electrical connection between them. A single, solid crimping action should be enough.
Check for Proper Connection
After the crimping process, it’s essential to check for a proper connection. Each of the eight pins should be pushed into its corresponding wire. If you look at the transparent end of the plug, you should see each wire reaching all the way to the end. These checks help ensure a reliable and high-speed connection for your network. If the wires don’t reach the end or the connection seems loose, you’ll need to cut the connector off and start again.
Testing the Connection
Testing your new cable is a crucial step to ensure that the termination was successful and that the cable can transmit data properly.
Use a Cable Tester
To carry out this test, you will need a cable tester. This is a device that can verify the electrical connections in a signal cable. Simply plug each end of your CAT6 cable into the tester’s connectors and run the test. The tester will check each individual wire pathway, ensuring they are accurately connected and can carry an electrical signal.
Test for Continuity and Data Transmission
The cable tester does not only test for continuity, but also for proper data transmission. It will check if each pair of your CAT6 cable can transmit data at the required speed. In cases where the cable fails to meet the necessary speed requirements, it is usually indicative of incorrect wiring or a weak connection, signifying that the termination process may need to be redone.
Make Any Necessary Corrections
If the cable tester indicates that there is an issue with your cable, you will need to make the required corrections. This usually involves removing the RJ-45 connector, reordering and trimming the wires, and re-terminating the cable. After making the necessary corrections, you should test the cable again to ensure it is properly working. Remember, a successful termination is indicated by the cable’s ability to transmit data at the appropriate speed.
In conclusion, crafting a CAT6 cable requires meticulousness, patience, and attention to detail. From stripping the jacket to testing the connection, each step plays a crucial role in ensuring a solid, high-speed network connection. While the process may seem daunting initially, with the right tools and careful adherence to the standard wiring scheme, it becomes a straightforward task. Remember to check each connection thoroughly, and don’t hesitate to redo the steps if necessary. With practice and patience, you’ll soon be able to create your own CAT6 cables efficiently and successfully.