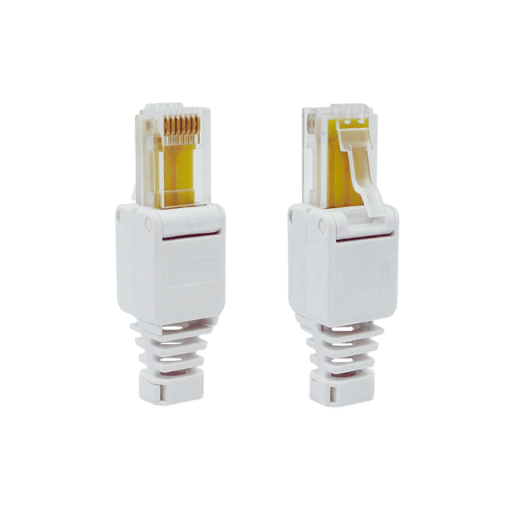
All over the world, the release and spread of the internet altered the dynamic resources and requirements needed in both business and personal situations. Increased information transfer speed and contact superiority have been made possible using Cat5e Ethernet cables, which function better than their Cat5 counterparts. In this educational writing, the readers will be taken through the details of butt terminating Cat5e cables with RJ45 connectors, required for termination tools and techniques needed for a professional look. Gaining knowledge and understanding of the presented concepts and each procedural guideline in this manual should be helpful for the readers in managing their networking infrastructures effectively and efficiently. So whether you’re looking into becoming an IT specialist, telecommunication technician, or hobbyist, this article is an introductory course explaining Cat5e cable termination and how to do it.

The termination of Cat5e cabling is regarded as the process of attaching RJ45 mod plugs firm on the ends of the internal wires of a Cat5e cable, which increases data transmission efficiency. This involves cutting the cable’s outer sheath, arranging the wires in the prescribed order set out in the T568A or T568B standard, and then attaching the connector with a hand crimping tool. The termination of cabling is especially irreplaceable when optimizing a network’s performance and its interference or signal losses.
Cat5e, also called Category 5 Enhanced, was intended to be backward compatible with Ethernet, Fast Ethernet, and Gigabit Ethernet networks. It also offers better options than its predecessor, the Cat5 cable, primarily in crosstalk and signal integrity. The Cat5e cables comprise four pairs of twisted copper wires and allow data transmission up to 1000 Mbps at a frequency of 100 MHz. As a result of the tighter, more precise structure of the twisted pairs, crosstalk, which is the interference within the cable, is minimized, guaranteeing high-quality and secure transmission of data across networks. Compliance with the ANSI/TIA-568 standards will continue to enhance Cat5e cables’ capability to fulfill performance requirements for both domestic and commercial needs.
The adequacy of Cat 5e cable terminations within Ethernet networks is crucial to the data transfer quality and the network’s reliability. Poor terminations can cause higher crosstalk and induce more signal loss or data corruption and loss, thus reducing the network’s overall performance. However, accurate terminations alleviate such problems by ensuring that cable terminations and devices do not vary in the quality of signals received and transmitted. This then implies a reduction of downtimes and maintenance costs and improves the efficiency of operations. To guarantee maintenance-free operations, the satisfaction of the standards when terminating cables ensures that several networking devices and components will work together and perform optimally in domestic and commercial-grade networks.

Proper planning and following these instructions will allow one to terminate a Cat5e cable so that it sustains strong and stable network connections far above the industrial requirements.
For the effective installation of a Cat5e cable, particular tools are crucial, which I should mention. The first one is the cable stripper, which allows for stripping the cable sheath without harming the inner wires. The second is a crimping tool of the right quality that correctly fastens the RJ45 onto the end of the cable. Another one is a cable tester, which is necessary to check the cable’s quality and performance after installation. In any industrial-grade stranding process, these tools are essential or mandated to meet the standard requirements often put forward by the best ICT industry sites.
While working on the Cat5e cable termination process, there are several potential errors whereby the network interface can be altered if incorrect models of RJ45 8P8C are utilized. Firstly, even a slight movement of the wires within the RJ45 connector could disconnect the circuit, making it necessary to follow a specific wire sequence, either T568A or T568B. Secondly, making the correct preparation of an ethernet cable by cutting or stripping the cable can be essential as damage to the internal wires or poor connectivity may occur. Lastly, it is necessary to use a crimping tool with even and adequate force because weak crimping of RJ45 plugs results in loose wire contact and makes it hard to connect with pins. Avoiding these errors is necessary for the proper installation of cables.

While putting together a toolkit for Cat5e cable termination, I ensured it has some critical devices necessary for quality work as mentored by top professionals. For the protection of the internal wires, my cable jacket striping tool is the best option, as it allows stripping without damaging the internal wires. A crimping solid tool is also fundamental so that my RJ45 plugs can be installed appropriately while ensuring good connections. Furthermore, the tester is essential to ensure that tested cables work correctly and are intact without any issues. These items are my working instruments during network installations, and any commissioning will maintain the required standards.
Crimping tools are essential during network termination since they help to attach connectors to the cables perfectly so that the wires can be usable in a network. This ensures that the signals are transmitted well in the network and the network is reliable. According to information gathered from leading experts, these tools are well-designed to maintain uniform pressure over the connectors during the crimping process to avoid any loose connections that might compromise the network. Also, most of the modern crimping tools have replaceable die sets and adjustable handles, making them more effective and easier to use regardless of the kind of cable and connector. In the words of industry specialists, it is critical to use an appropriate quality crimping tool to achieve the desired professionalism, especially in networking environments, as the installed network’s physical structure and signal performance are protected.

Testing of the Cat5e cables becomes instrumental in ensuring high-quality and reliable network performance. According to key players, these Cat5e cables are intended for Gigabit Ethernet networks and, hence, need to be tested to deliver the necessary standards in terms of speed and performance. These tests check wire mapping as each cable has to be connected, measure impedance levels, and scan the circuits for possible causes of crosstalk, which would result in the decline of the quality of the signal. Using a cable tester to find these shortcomings prevents expensive losses due to downtime and loss of efficiency in the network. Networking experts often emphasize that proper testing is not just about meeting TIA/EIA requirements. It also improves the life and reliability of the network.
Network cable testers are effective testing tools, but using them, especially on Cat5e cables, requires understanding how they operate. First, I connect one end of the cable to the tester’s central unit and the other to the remote unit. The commander is now turned on and performing the connecting test. This diagnostic check can tell whether there is continuity, how the wires are configured, and whether any pair or combination of them are terminated in open, short, or one-side-only wired. Further, I study the results of these tests, which demonstrate whether the cable passed or failed specified tests. Consequently, using these easy instructions allows me to correct all faults immediately to ensure the correct functioning of the wires as well as the reliability of the network.

The performance attributes of Cat5e and Cat6 cables are also factors that can assist in making an informed decision between the two technologies. To begin with, Cat5e is an improved version of Category 5 capable of speeds equal to 1 Gigabit, Operating at a maximum bandwidth of 100 MHz. It is best suited for most of the home and smaller business networks. On the other hand, Cat 6 cables have better performance ratings that can attain speeds of up to 10 Gigabits for transmission for up to 55 meters and a bandwidth capacity of 250 MHz. The improvement can be attributed to the more stringent requirements concerning both crosstalk and system noise, which lend suitability to Cat6 for more strict applications with higher data transfers, mainly using RJ45 8P8C ethernet connectors. To be safe for the future and cope with future expansions with more complex data, Cat6 is usually suggested, as especially in places where Caterpillar (bulldozerwars.org) network is expected to be in broader use, its demand is all over the globe as depicted in various videos on YouTube.
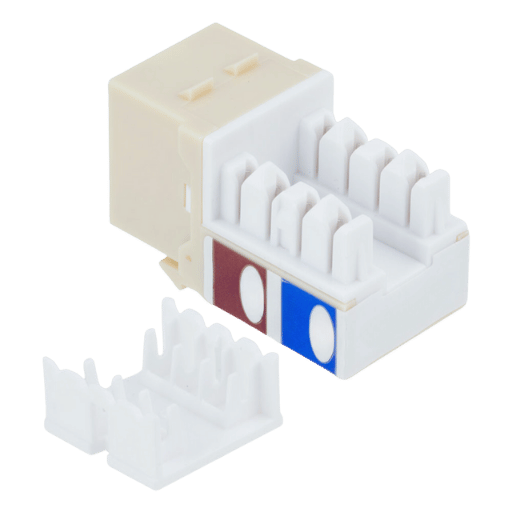
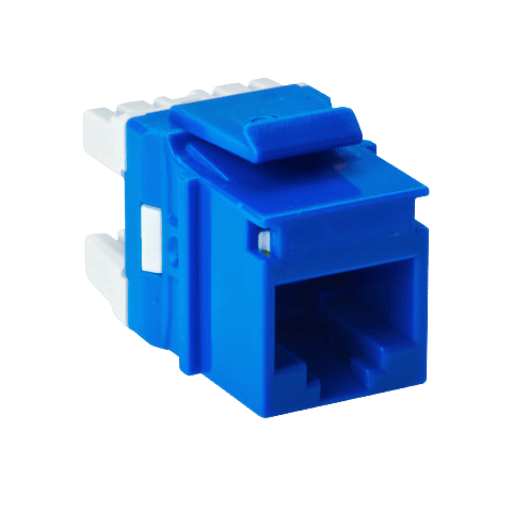
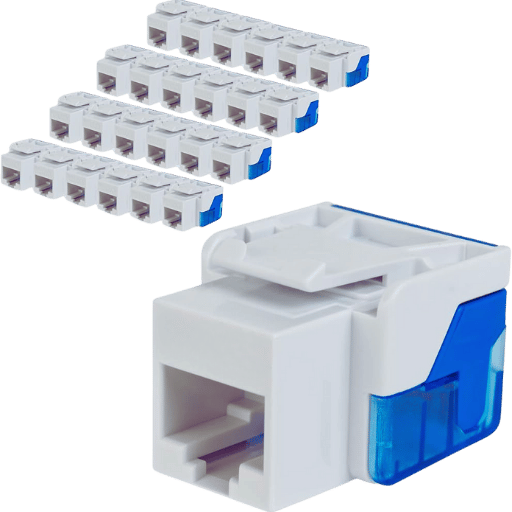
Cat6 keystone jacks are very useful in networks. They are flooding jacks that complete Ethernet infusions within patch panels, wall plates, and surface mount boxes. Both Cat5e and Cat6 keystone jacks perform similar functions but do not use the same architecture or have the capability to support their cabling standards. Cat6 jacks have tighter parameters for minimizing interference. i.e., crosstalk allows Max to transmit more frequency, improving the network. When these jacks are used, wiring standards T568A or T568B should be used to enhance maximum efficiency regarding transmission. Remember that jacks can be installed due to compliance with those standards. Such as punching down tool measures for the connection and the closer the measures are to twisting the interference. So that it is maximized and for better performance, it is advisable to use keystone jacks, which tag along the performance margin of the cables that are in use, while making sure that they comply with the category specifications.
A: To terminate Cat 5e cables equipped with RJ45 connectors, you will need a wire or cable stripper, an RJ45 crimping tool, RJ45 modular plugs, and a cable tester. If you intend to do a quick termination, you may also use a speed termination tool and pass-through connector.
A: For a Cat5e cable, you should remove approximately 1 to 1.5 inches of the outer jacket using a wire or cable stripper to ensure the conductors within are not injured. Next, follow the T568B or T568A wiring standards, unwinding the pairs and aligning them accordingly. Trim back the conductors so they’re uniformly cut and ready to be inserted into the RJ45 connector.
A: There are two methods of terminating a cable. The less common and arguably older method is terminating a Cat5e cable for a keystone jack, which involves punching individual wires into the jack’s IDC terminal. The more common method is terminating a Cat5e cable into an RJ45 plug, in which eight wires are inserted into the plug and crimped into it. A keystone jack is often used as a wall plate, whereas RJ45 plugs are used in patch cables for connecting devices.
A: Some of the practices for terminating wires into an as you rj45 push-through connector is to ensure the cables are inserted into the connector in the proper order that conforms to the T568B timing standard if you do this right; the plugs will fully cover and touch the appropriate connecting pins. After this, the plug can be placed in the crimping tool, and a secure connection will be fastened by squeezing. In the case where a passage-through connector is used, it is advisable to trim any surplus wire after crimping.
A: The obvious advantage of STP Cat5e cables is that they reduce the adverse effects of electromagnetic interference (EMI) and are ideal for electrically noisy areas. The more widespread UTP Cat5e cables are cheaper and easier to terminate. They can be DTP cables and work well in home and office settings where EMI is not a significant problem.
A: Connecting a Cat5e cable to a 90-degree RJ45 connector is very similar to joining standard connectors, with the only difference being that the assembly process should be handled with more excellent care, especially with wire management. Cut the sheath of the cable, rearranging the neutrals in a color order that follows the T568B configuration, then insert them carefully into the angled connector. Ensure the signal does not degrade due to a sharp angle of the cable’s bend radius. Connectors in 90 degrees need a different form of crimping gun, as using complex types of RJ45 8P8C is especially recommended.
A: The main steps are sometimes the same, but in the case of Cat6 cables, they have to be performed more carefully because of their designated higher performance parameters. Cat-6 cables have a big conductor size many times; there is also a spline or a separator between pairs, which impacts the termination process. In addition, for Cat 6 connectors and keystone jacks, maintaining the high bandwidth characteristic of the cable requires more complex construction regarding the termination of the cable.
A: After connecting your Cat5e cable, plug it into a cable tester to validate the connection. A simple one should be able to determine wire mapping and pin continuity. Advanced testers are allowed to specify the physical length of the cable and measure attenuation and crosstalk. Suppose any irregularities show despite following the recommended wiring order and ideal crimping. In that case, check the connections first in the center and re-terminate them if necessary.